Table Saw Trolley
Introduction
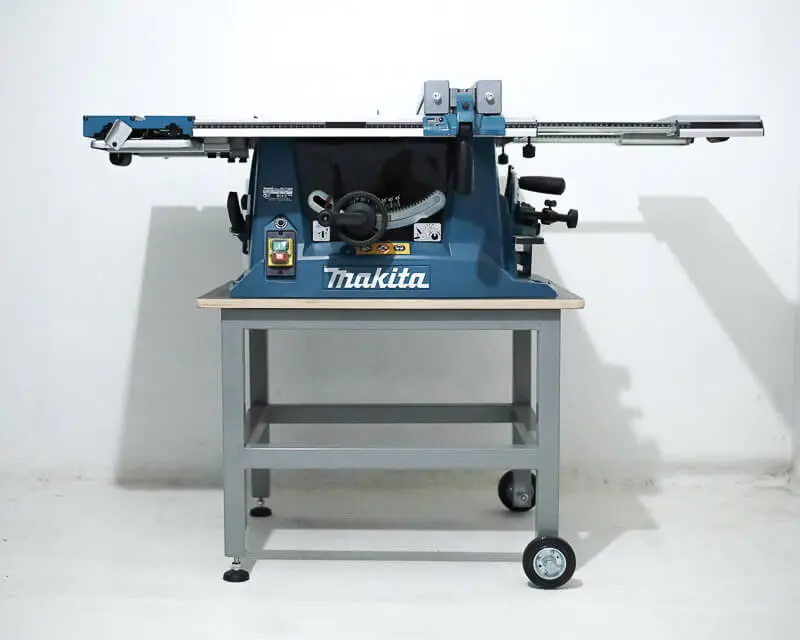
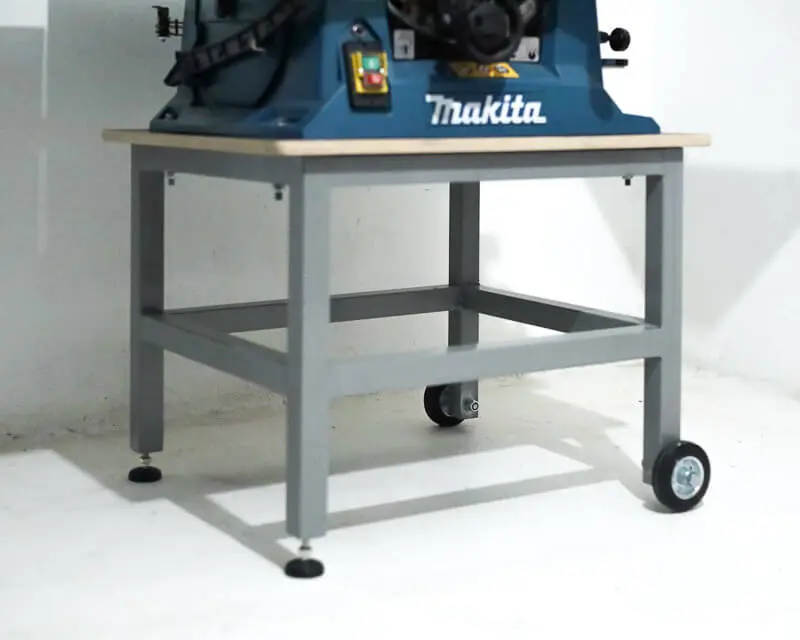
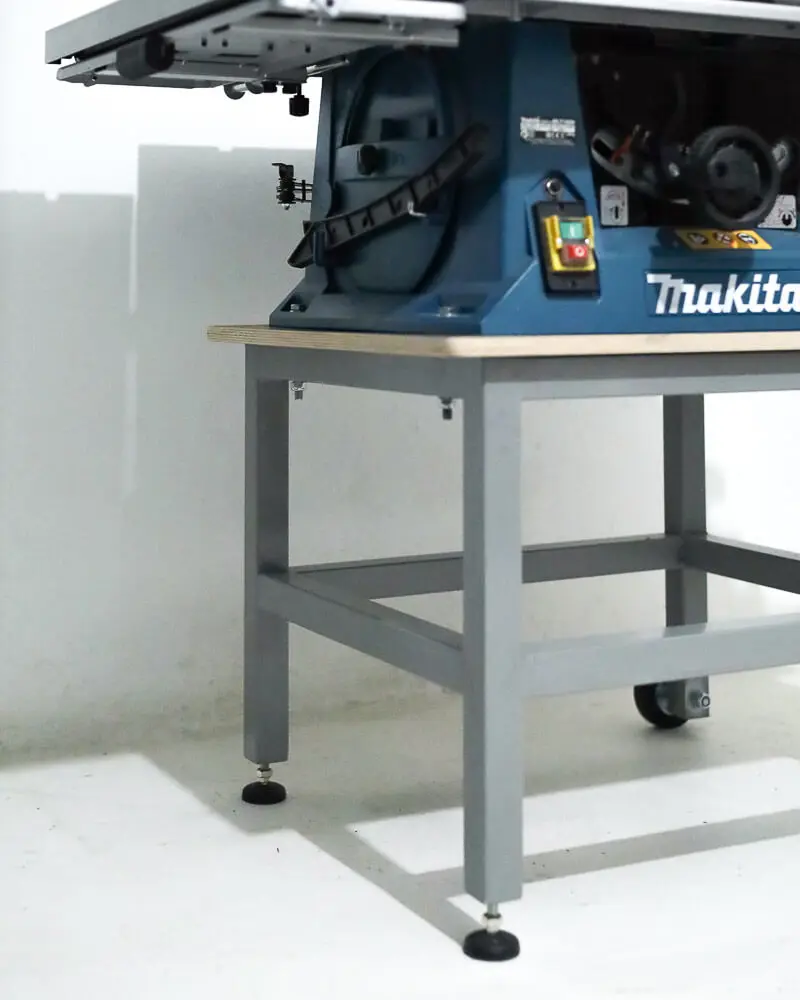
Table saws are designed to be placed on some form of stand, such as a table or trolley. The latter can usually be purchased as an accessory from the same manufacturer. But you can easily make one yourself. A trolley is handy if you're a carpenter on the go and need to move the bulky saw around a construction site. The following is how I made one, in this particular case, for the Makita MLT100N. But one can adapt the process for any table saw on the market.
Build
To complete the project, I followed a series of steps;
First, I gathered all the necessary parts and cut the
top plate, which was made of plywood, to the required
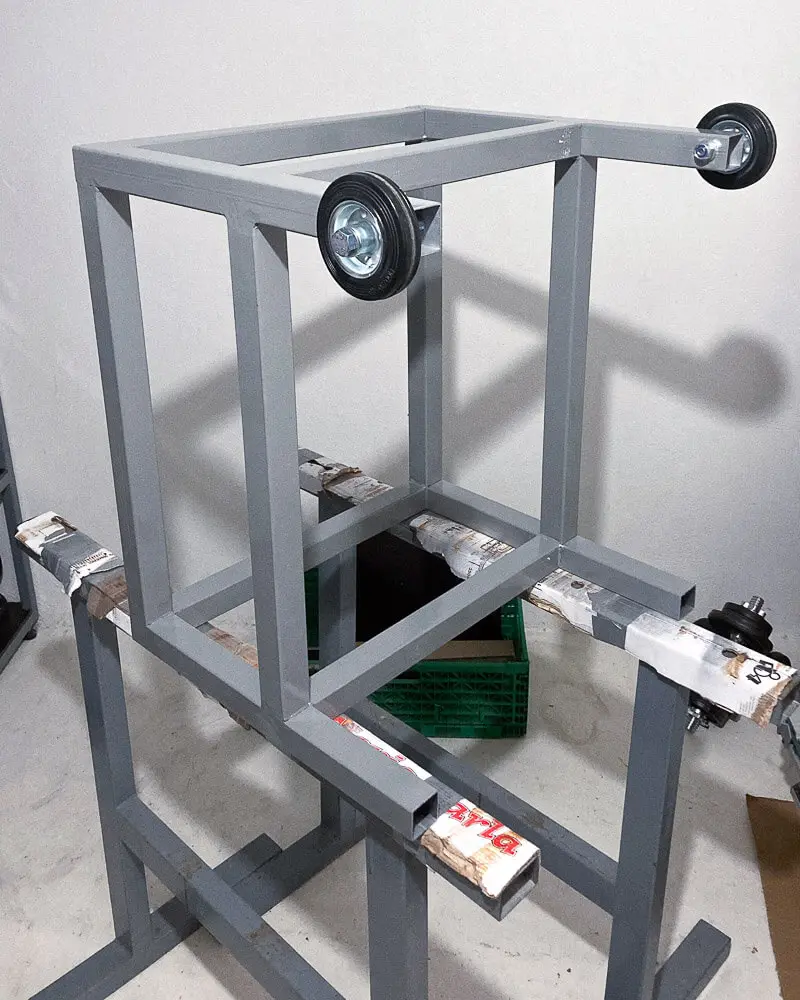
dimensions. Next, I drilled six holes into the steel
tubes and welded the steel construction together. To
protect the welds, I brushed them and applied Zn spray.
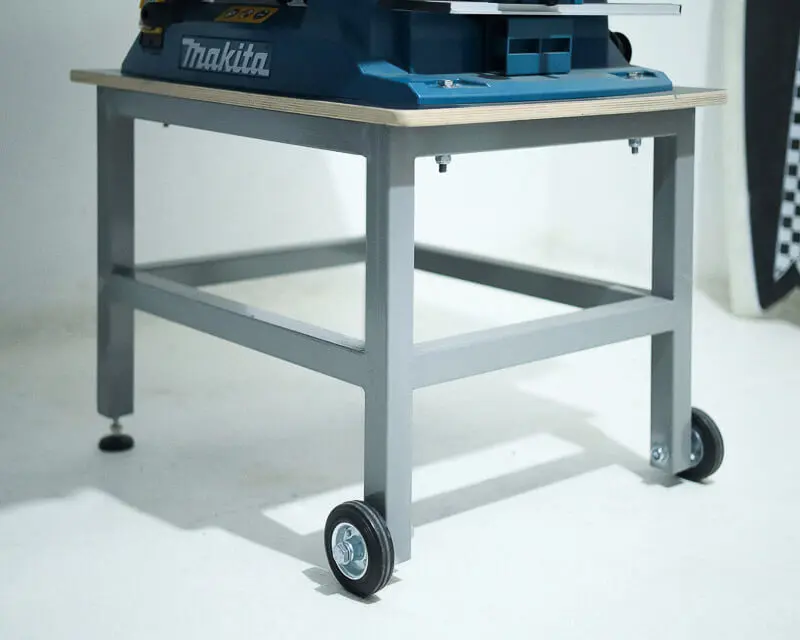
The entire construction was then painted with RAL 7073 enamel paint. Finally, I attached the top plate, rubber
feet, and wheels to complete the project.
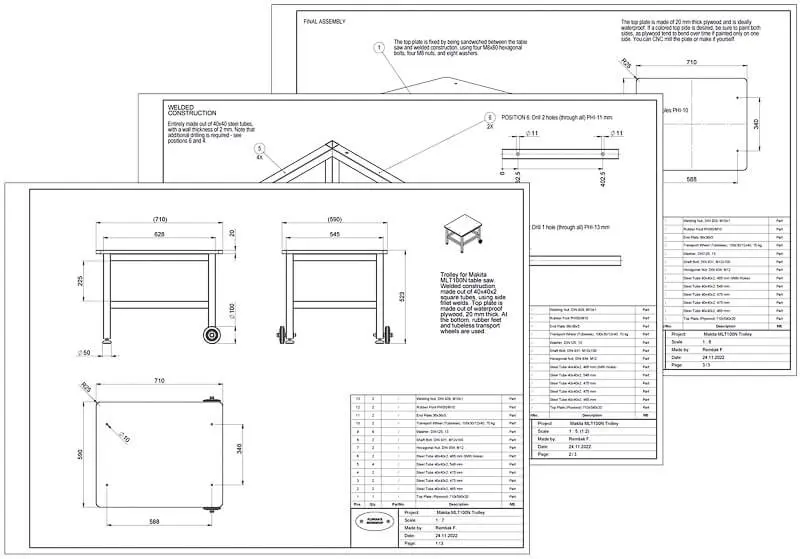
Assembly Instructions
I made a thorough instructions of how to put the whole thing together. Download the pdf document and follow along.
Bill of Materials
| Part | Standard | Quantity | Price [EUR] |
|---|---|---|---|
| Top Plate (Plywood) 710x590x20 | / | 1 | 23.93 |
| Steel Tube 40x40x2 (5960 mm) | / | 1 | 24.51 |
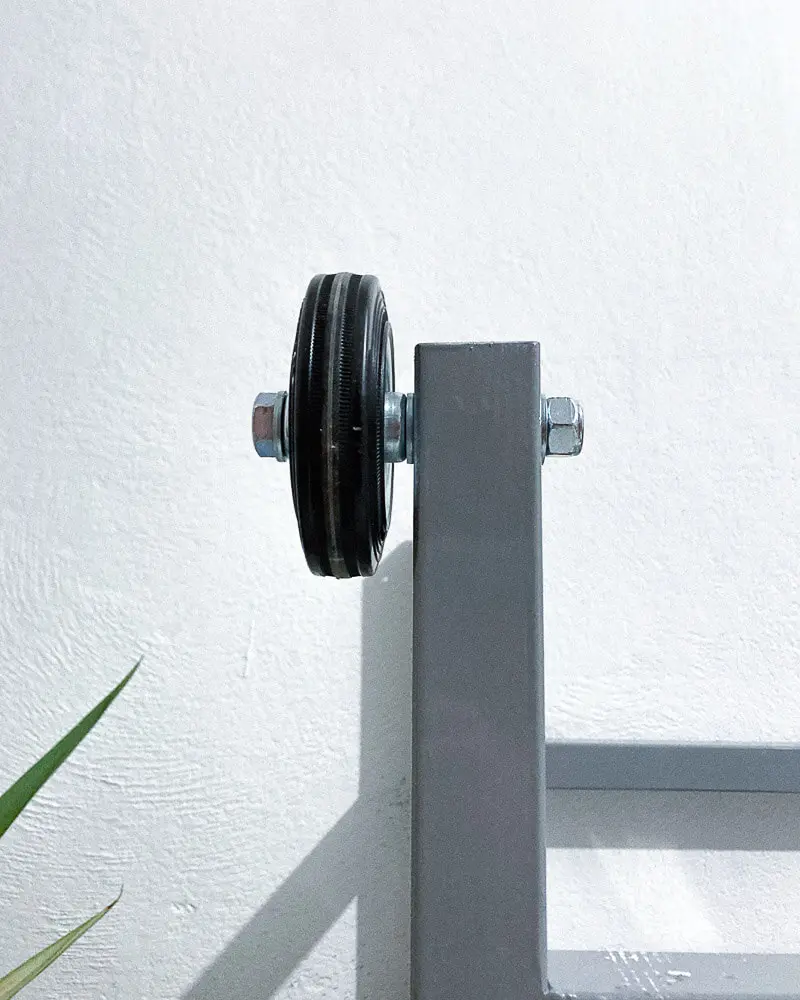
| Hexagonal Nut, M12 | DIN 934 | 2 | 1.26 |
| Shaft Bolt, M12x100 | DIN 931 | 2 | 4.18 |
| Washer, 13 | DIN 125 | 6 | 0.96 |
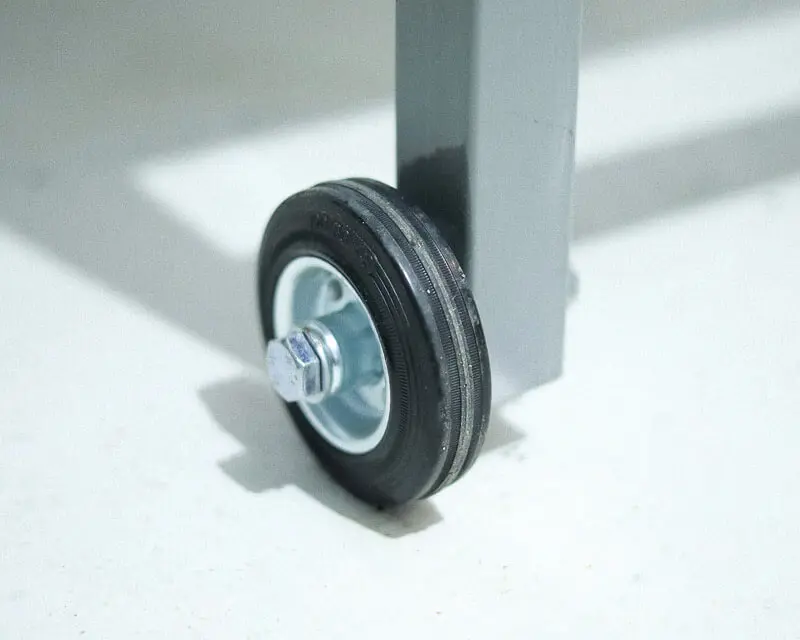
| Transport Wheel (Tubeless), 100x30/12x40, 70 kg | / | 2 | 11.98 |
| End Pieces 36x36x5 | / | 2 | 2 |
| Rubber Foot PHI50/M10 | / | 2 | 7.22 |
| Welding Nut, M10x1 | DIN 929 | 2 | 0.7 |
Top Plate CNC Milling
If you wish to CNC mill the top plate, you can use the .dwg file attached here:
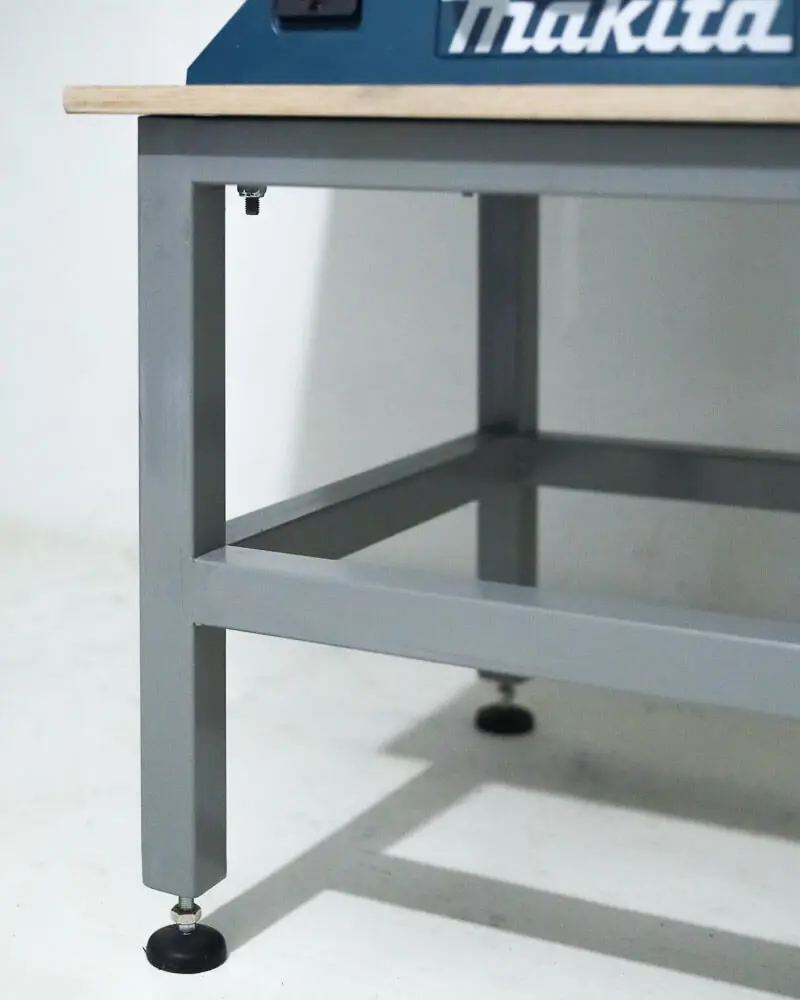
Fixing the Rubber Feet
There are two ways to attach the rubber feet. The feet use a standard M10 thread, which is useful for adjusting the height if the floors are uneven. Therefore, to securely install the feet, you'll need M10 thread. I came up with two methods to achieve this: one is easier, and the other requires welding skills. Both will do the job.
- Tapping
To attach the end plate to the tube, start by drilling a ⌀9 mm hole in the 36x36 end plate and weld it at the end of the tube. Then, use a threading hand tool to create a thread. Firmly hold the end plate using a vice and use an M10 female thread cutter to create the thread. Begin by going two turns clockwise, then one turn counter-clockwise, and continue until it comes through.
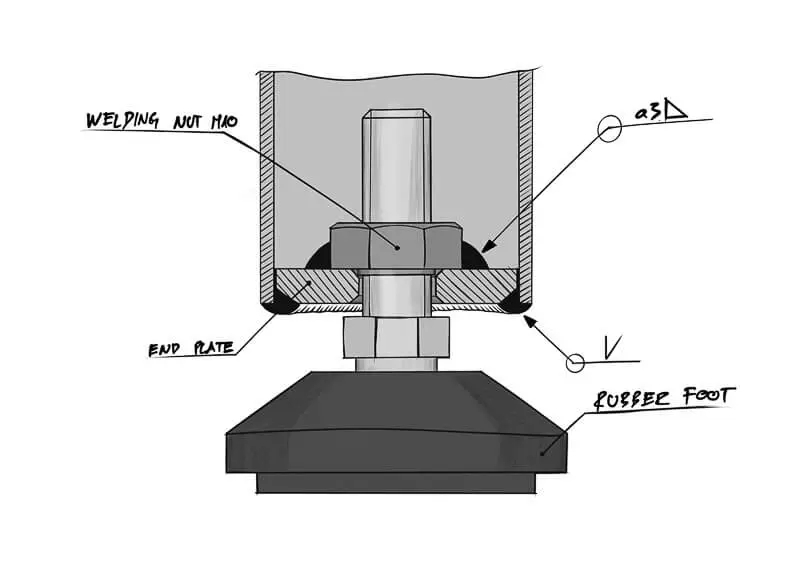
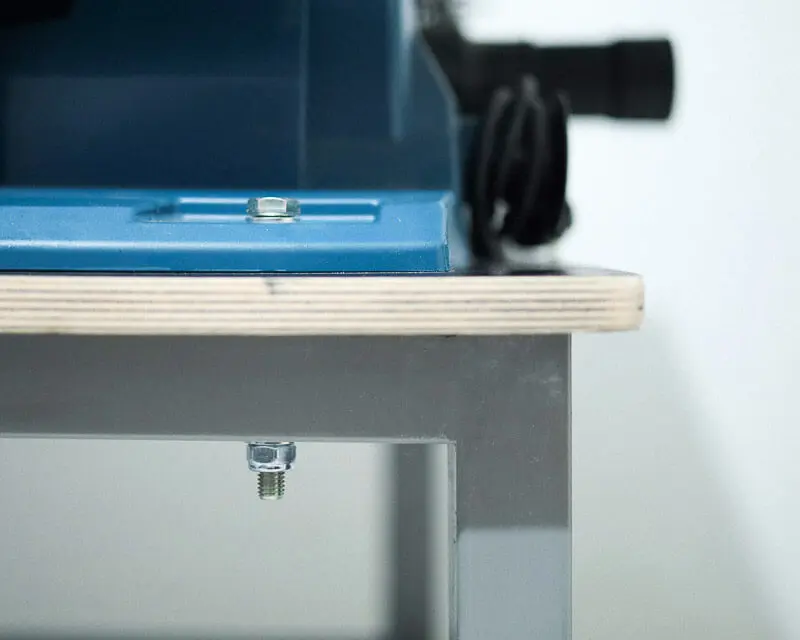
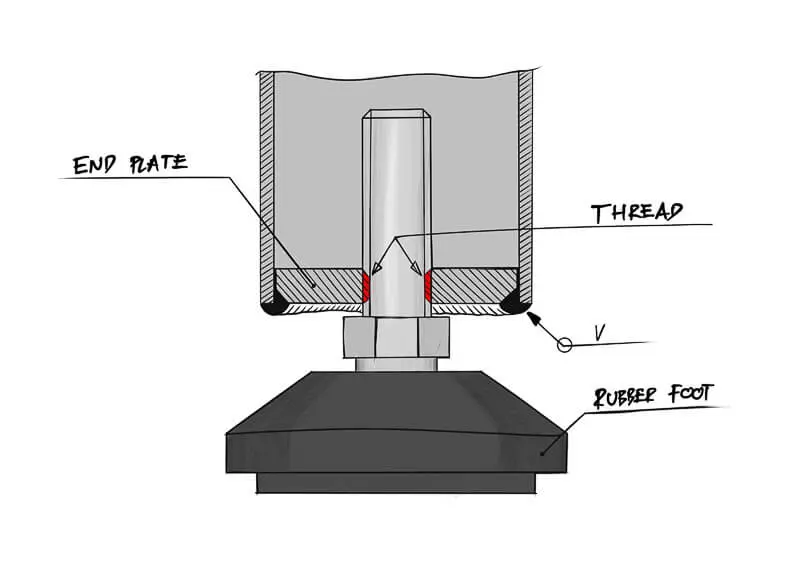
- Weld the Nut
This is the method I used and is included in the assembly instructions. To install it, simply purchase a regular M10 welding nut (standardised as DIN 929). Then, drill a hole in the end plate and insert the nut inside. Be sure to place the nut perpendicular to the end plate so that the rubber feet will stand straight and not slant. Finally, weld the pieces together.
Conclusion
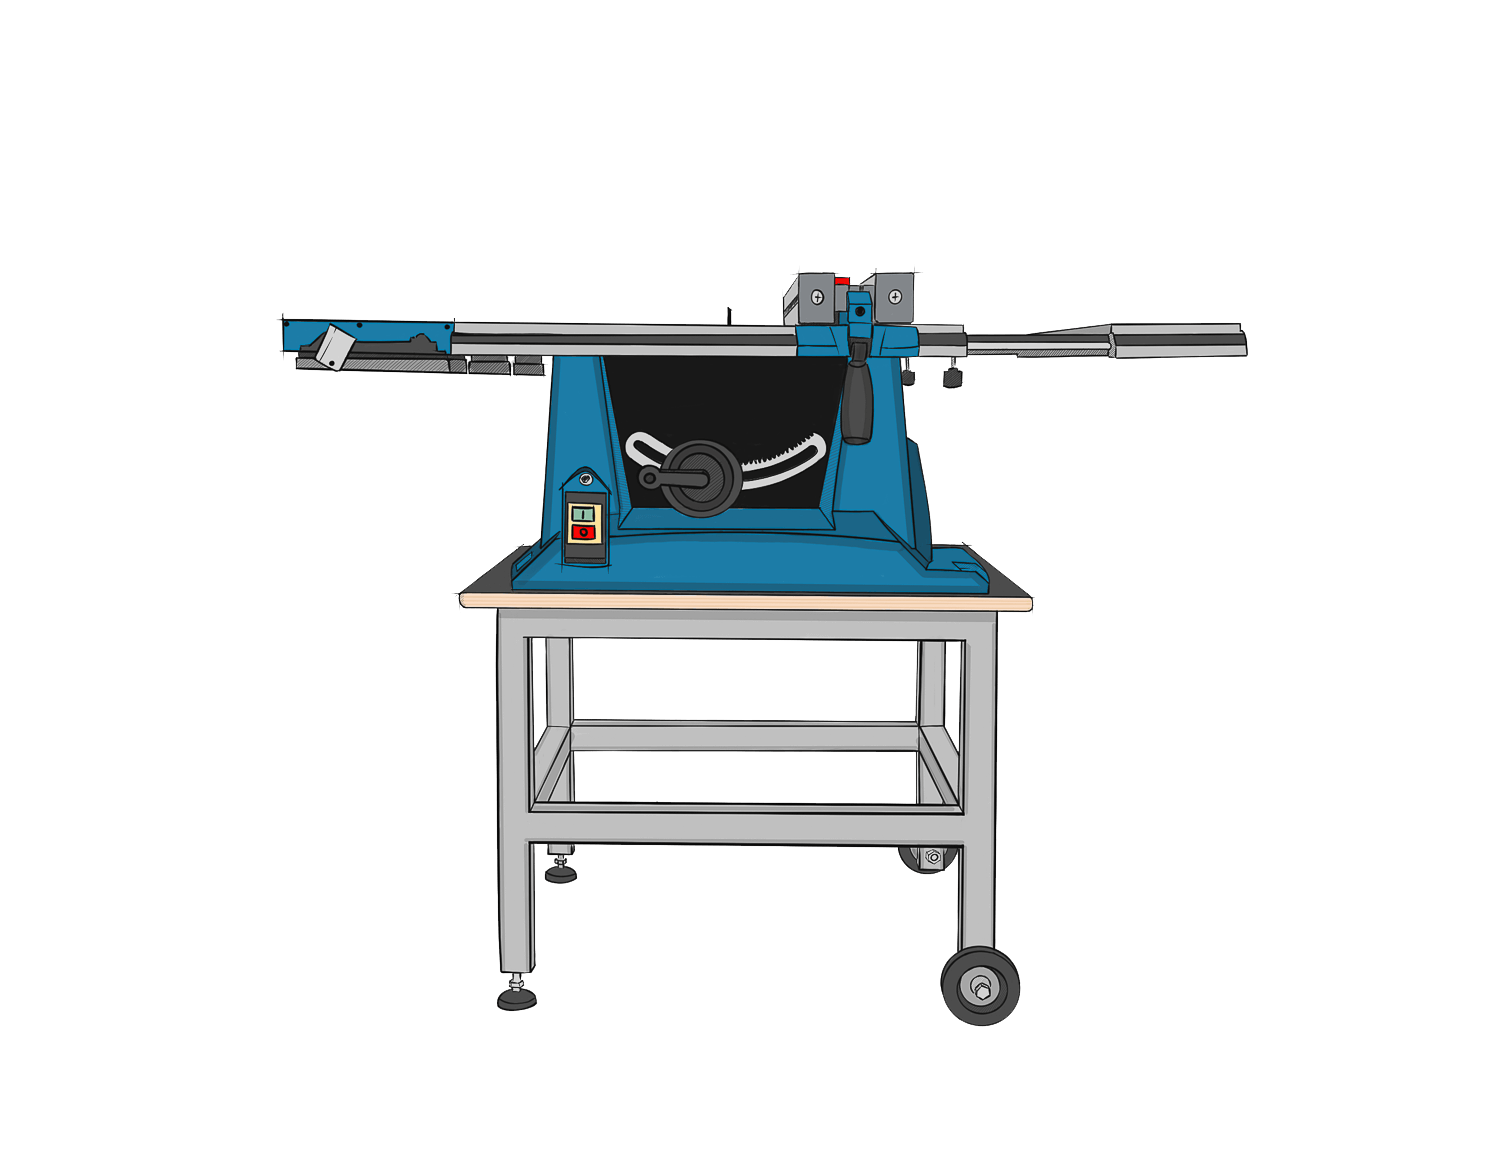
The trolley has a simple design and is easy to use. It is perfect for use on construction sites, where portability and agility are essential. Additionally, the trolley is sturdy and stable, easily carrying heavy loads. It is well-proportioned and suits the machine well. The trolley is unique because you can store shorter pieces of wood on the transverse bottom tubes. Its heavy-duty design is meant to last for many years of good use. Depending on where you live, the project's total cost is less than 80 EUR, and depending on your welding skills, it takes about half a day to complete.
Gallery