Building Workshop
Project Description
This page documents the process of building my own workshop, including the layout, flooring, furniture, and storage solutions. The workshop was built with a focus on functionality, simplicity, and cost-effectiveness, and serves its purpose well.
Layout
The room where I set up my workshop was initially a boiler room in the basement, leaving only 9.1 m² of usable working area. Personally, I use this space for many woodworking projects, which I often complete in the backyard. It is handy that one of the doors of the room leads directly outside.

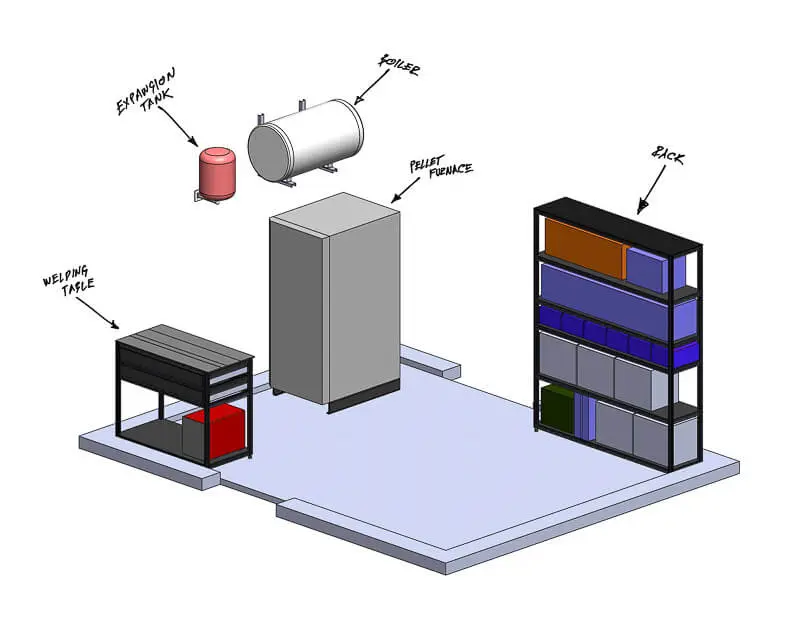
*The "effective workspace" area is designated for a CNC machine I plan to put in.
Flooring and Paint
Since the room has no windows, only doors that lead outside, I aimed for a bright and minimalist design.
For the floors, I needed something durable, smooth, easy to clean, bright, and fire-resistant. Industrial epoxy ticked all the boxes. I removed the old tiles, leveled the surface with cement, and brushed it.
After that, I applied two coats of white, industrial-grade epoxy. Next, I painted the walls with extra strong, washable white paint.
All of this is very easy to do. The building materials usually have instructions on how to use them, and in case of doubt, there are plenty of guides available on YouTube/the internet.
Furniture
The most essential pieces of equipment for my workshop are a work bench and a storage rack. I opted to use 30×30×2 (mm) rectangular steel tubes and weld them together. This approach is more cost-effective but does require some welding skills.
💰 The cost of the construction steel is 60% cheaper.
The cost of an aluminum profile is 5,72 EUR/m, while the cost of a steel tube with similar properties is 3,84 EUR/m. Adding the cost of hardware for the aluminum assembly, the total cost comes close to 600 EUR, while the welded steel design costs around 180 EUR after tax, welding electrodes included.
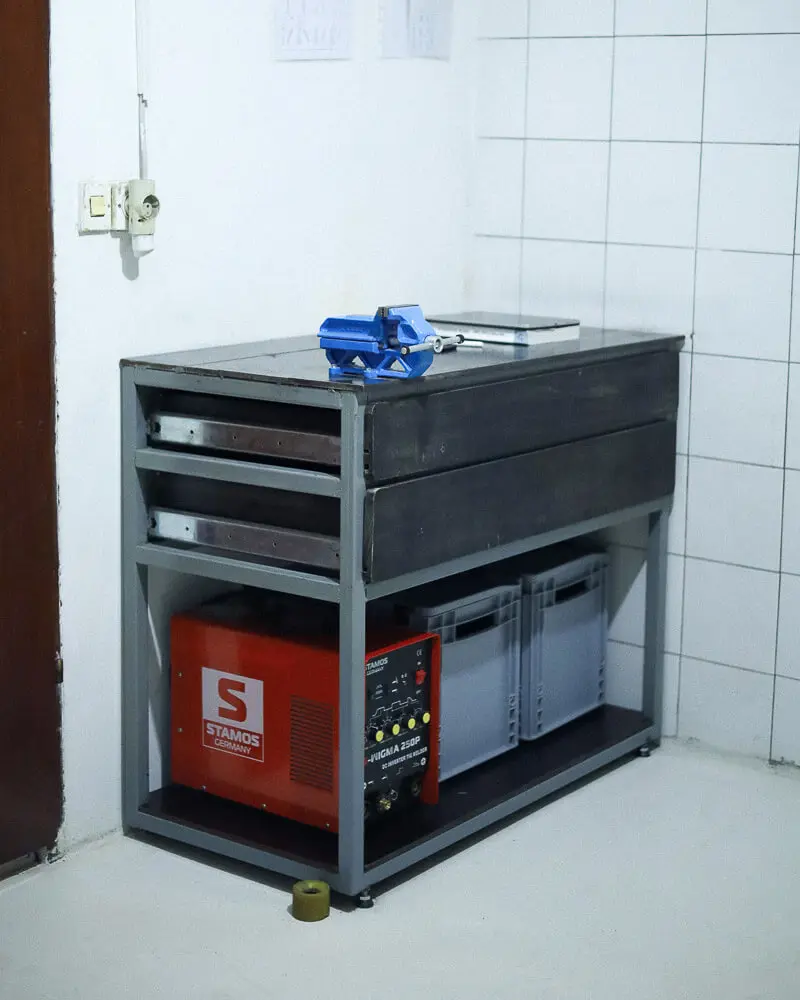
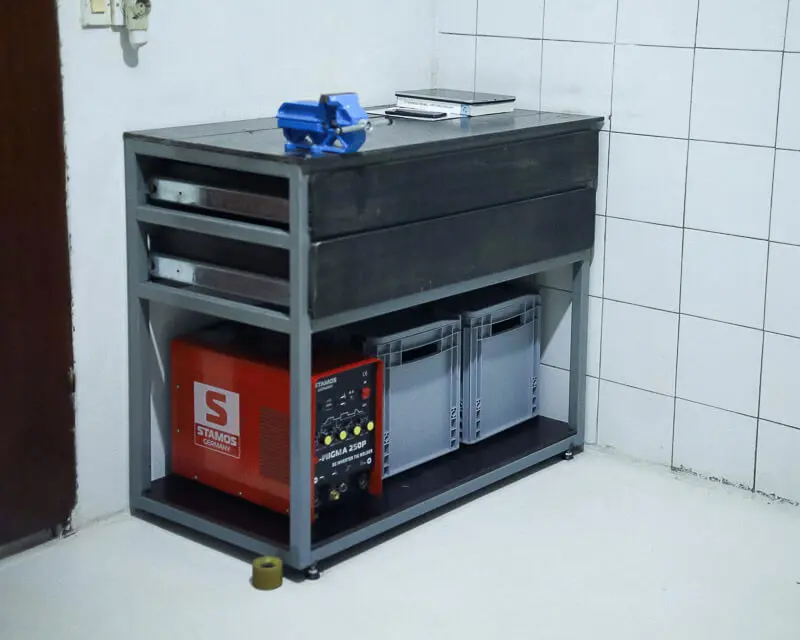
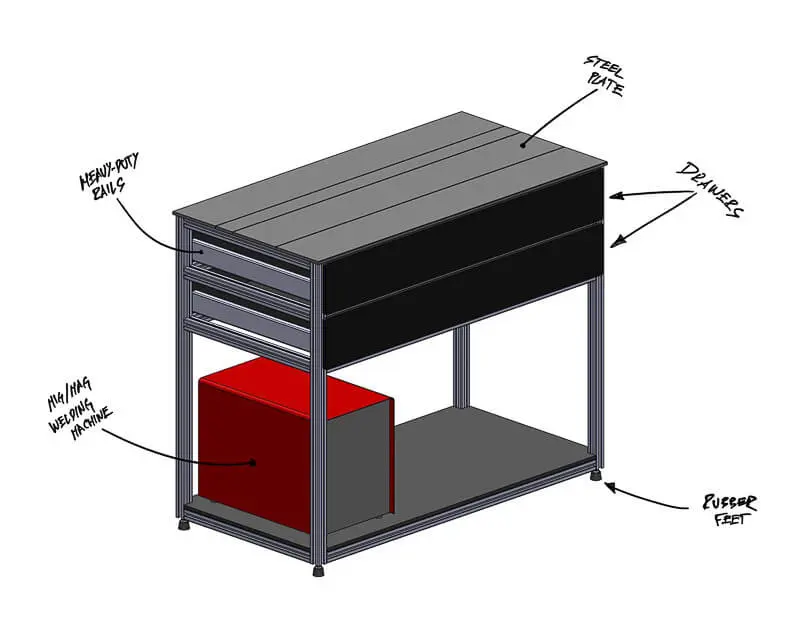
Work/Welding Bench
The table is specifically designed for welding purposes. The top plate comprises 10 mm metal plates, and the lowest shelf has a designated space for a welding machine. The table also has two drawers to store common hand tools.
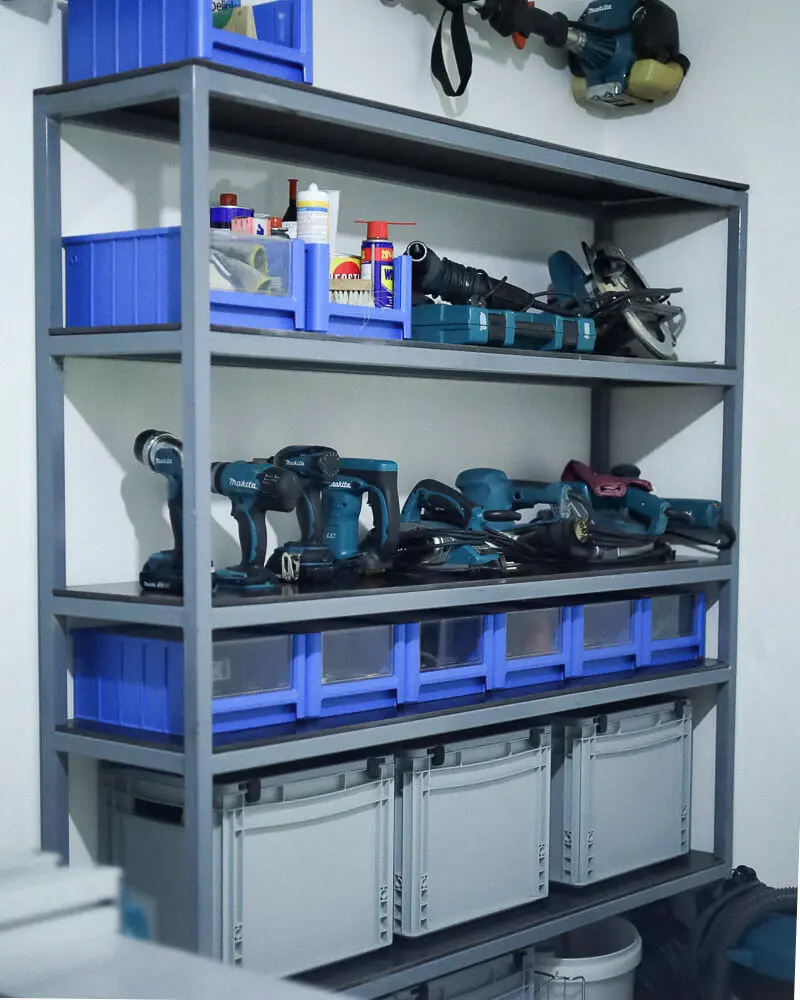
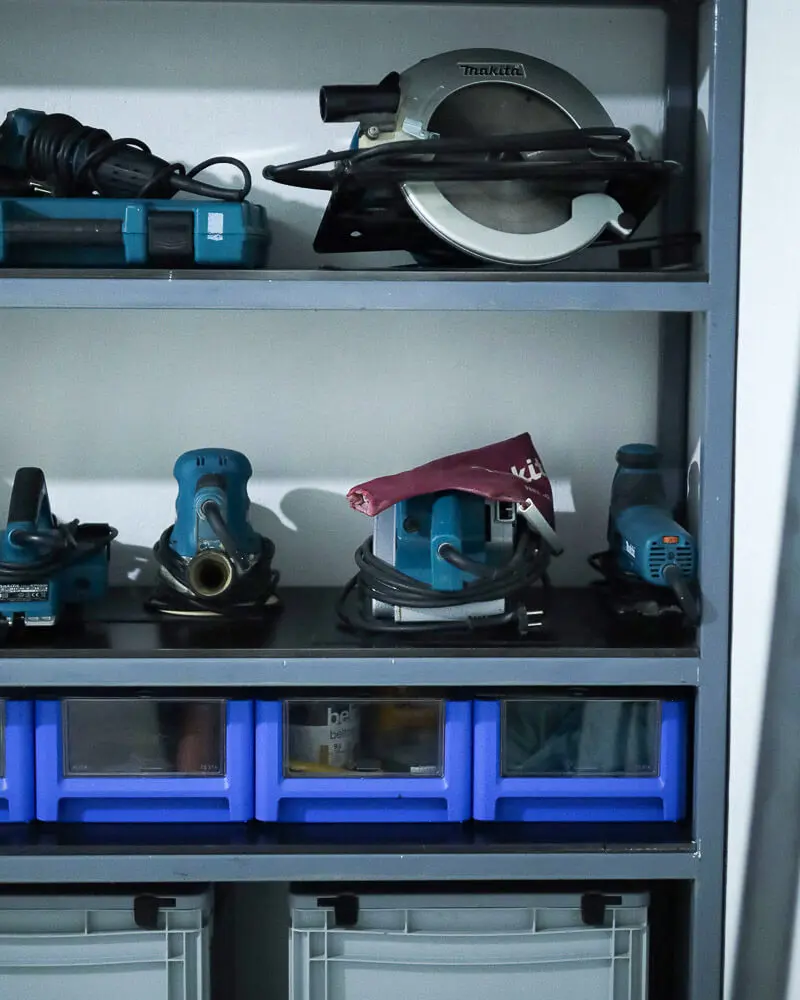
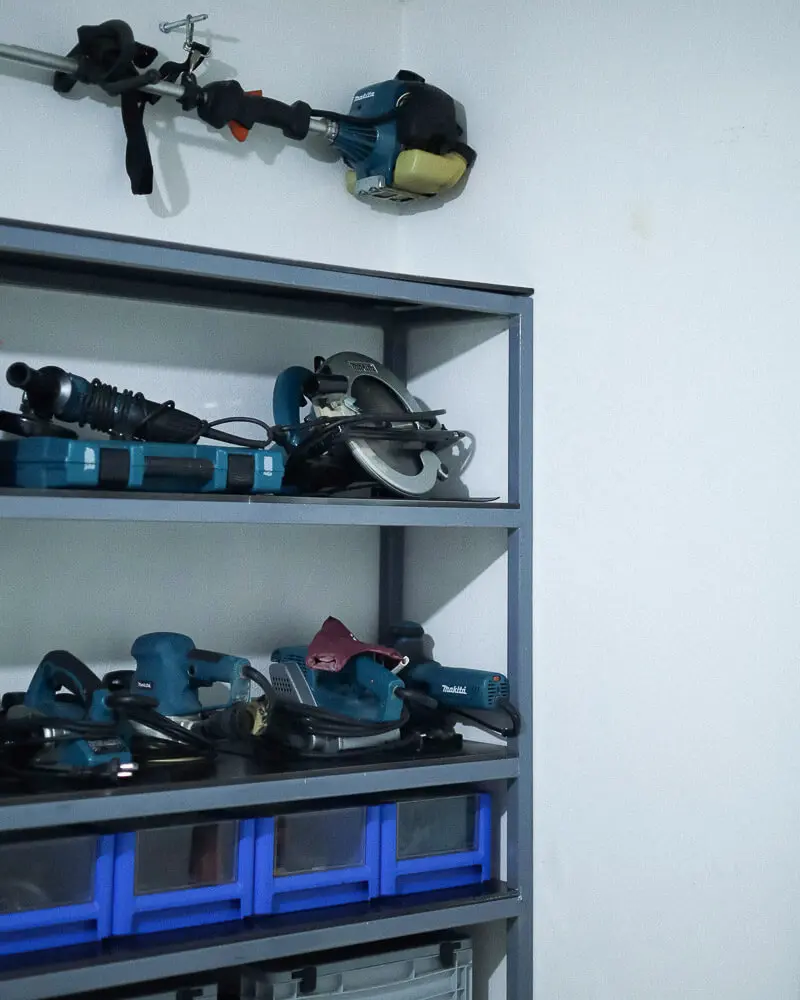
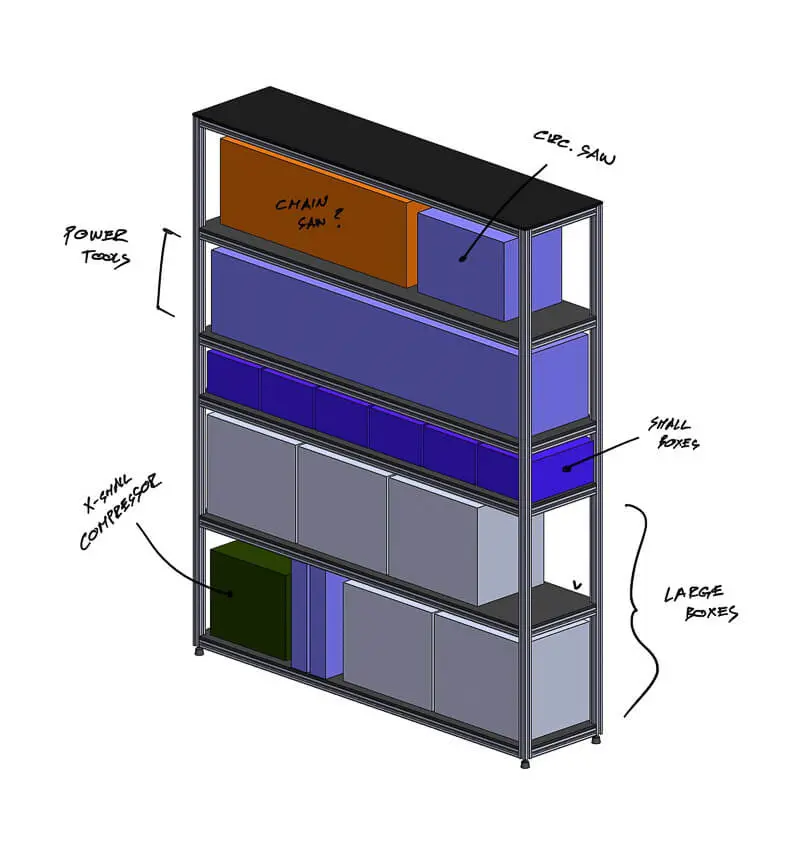
Storage Rack
To store the equipment necessary for running the workshop I built a storage rack. Like the table, I welded it from 30×30×2 (mm) rectangular steel tubes. I used 9 mm thick water-resistant plywood for the shelves, with a black, non-slippery finish on the top and bottom layers.
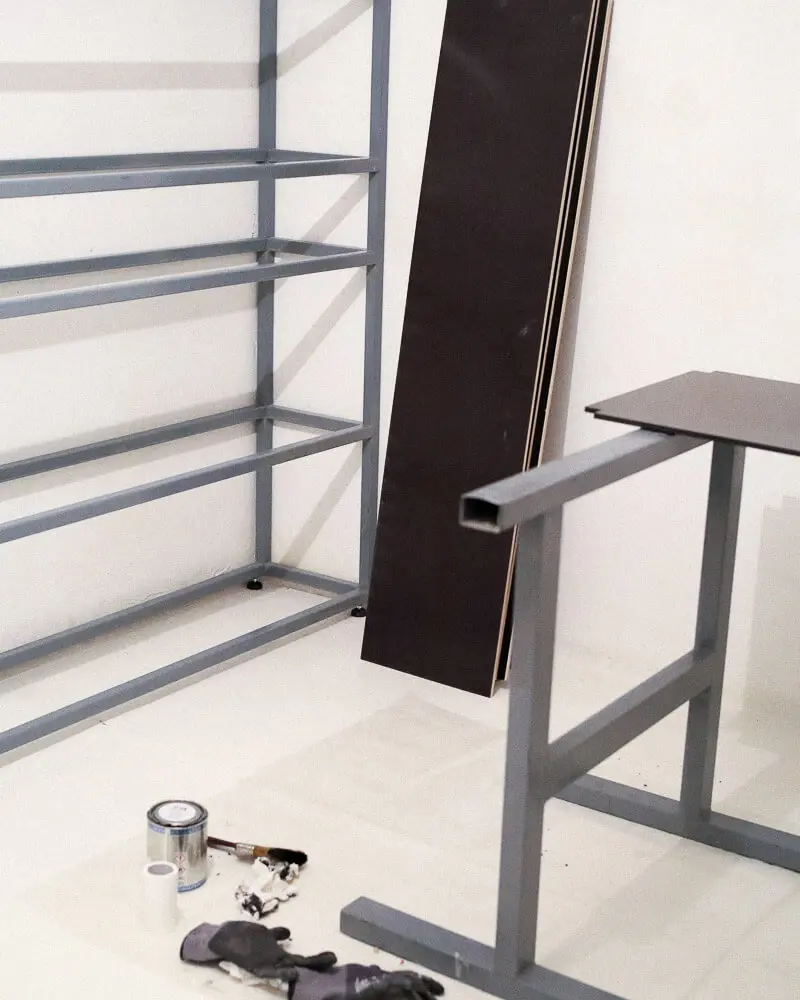
Paint and Weld Protection
All the welds are protected with Zinc anti-corrosion
spray. Welded constructions are painted with enamel paint, RAL 7037.
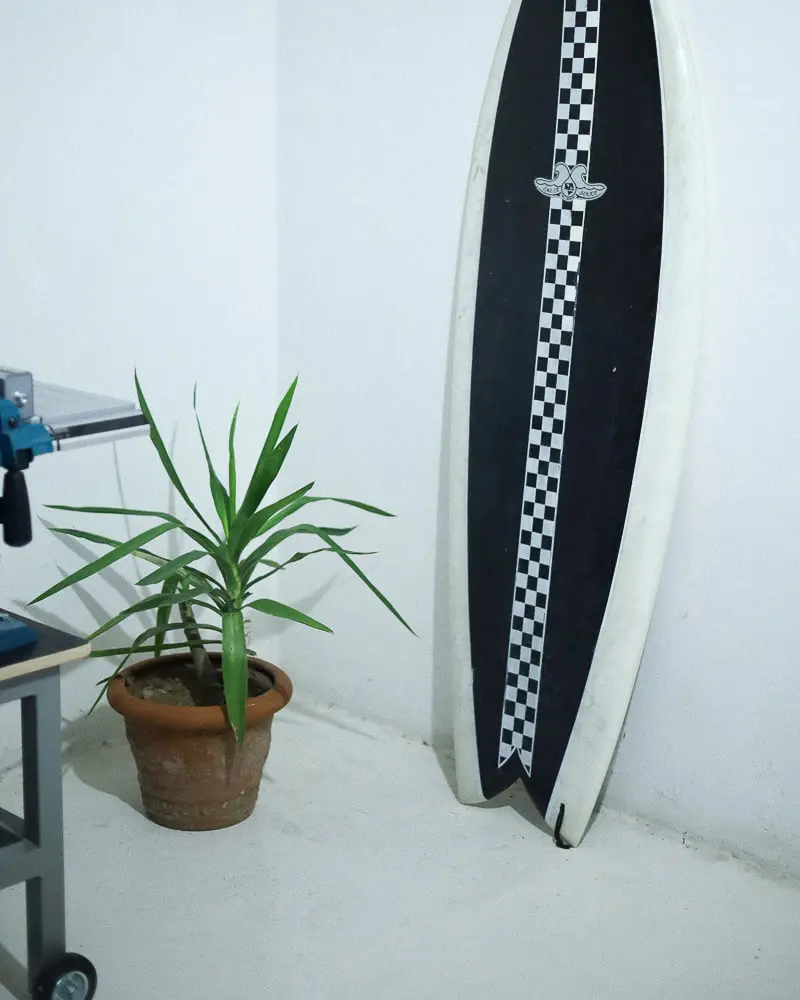
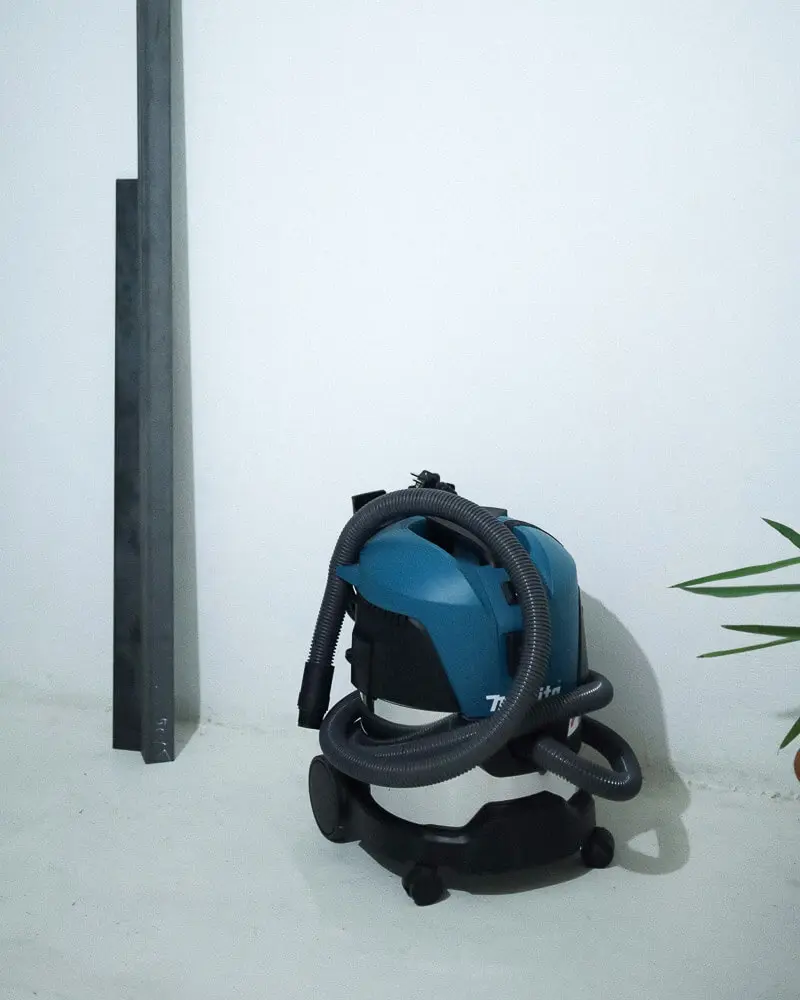
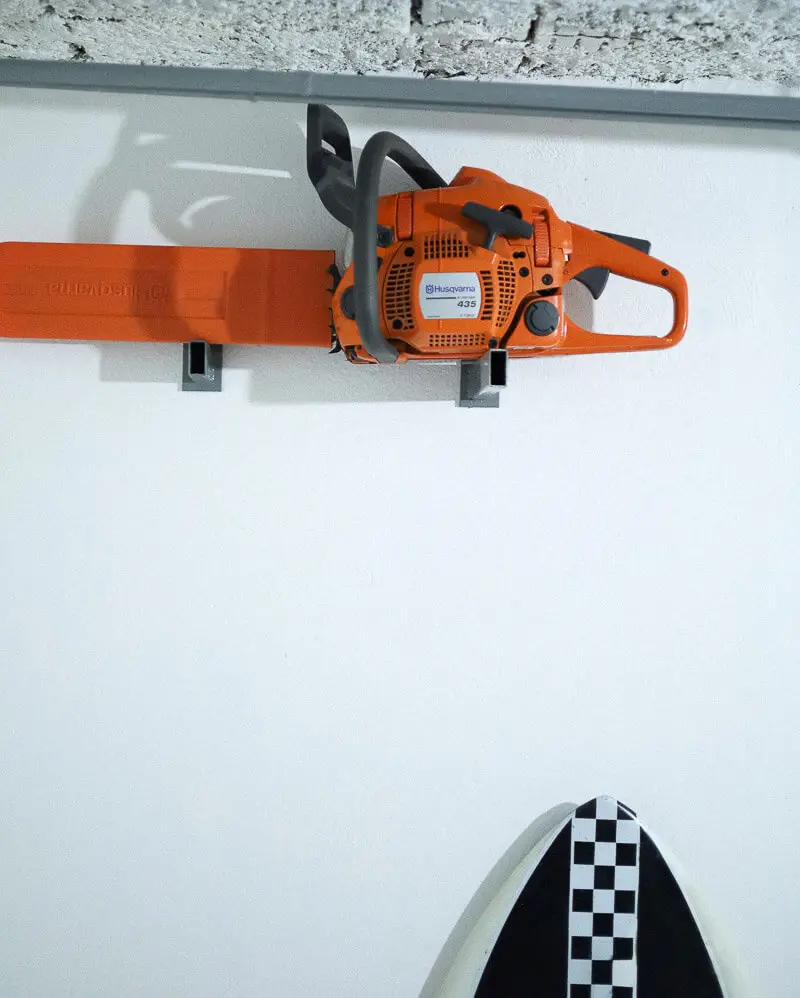
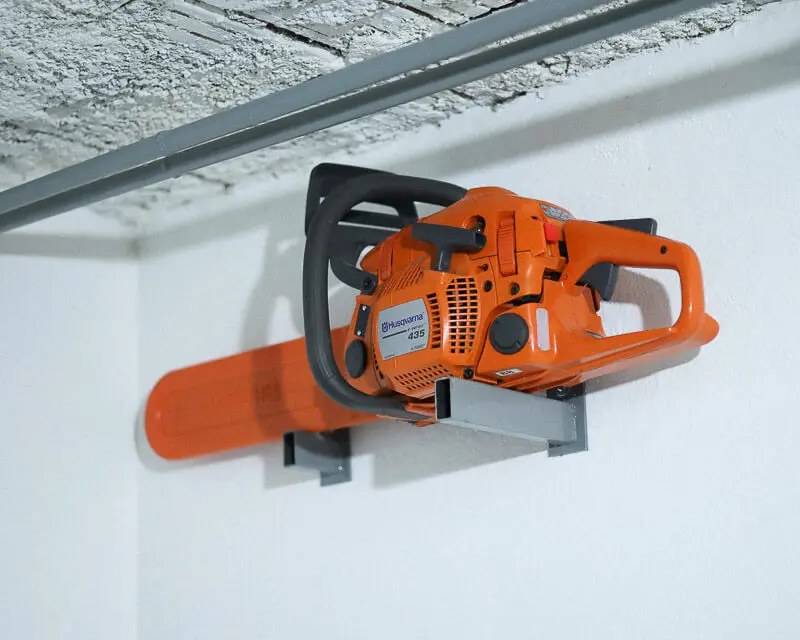
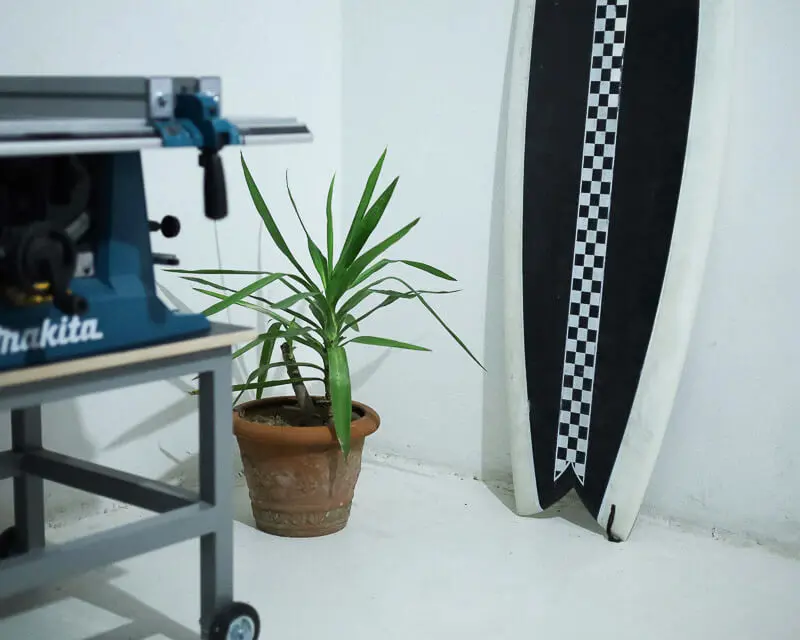
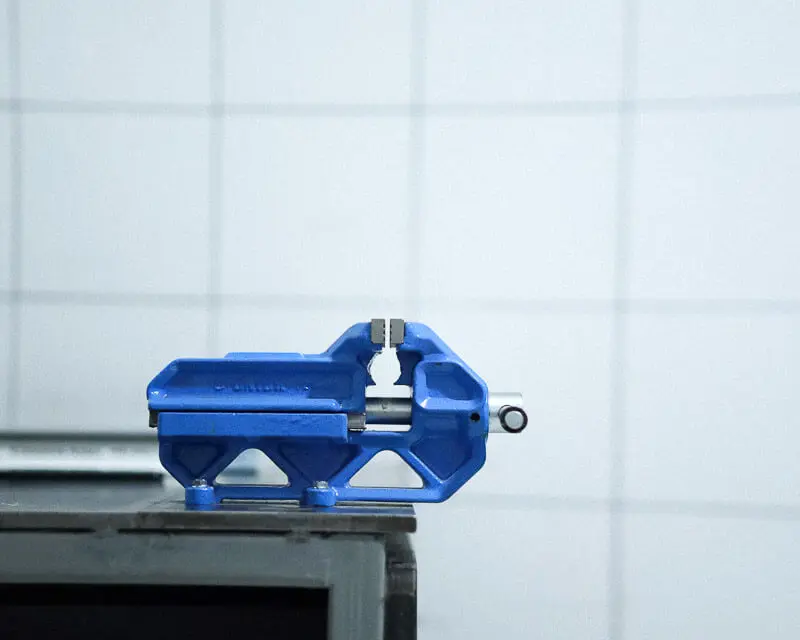
Gallery